In maintaining a pristine pool, ensuring the safety of swimmers is paramount. One crucial aspect of pool maintenance is the proper addition of liquid chlorine. But how can you ensure that you’re doing it safely and effectively? In this comprehensive guide, we’ll delve into the intricacies of adding liquid chlorine to your pool, ensuring a crystal-clear oasis for your enjoyment.
Understanding Liquid Chlorine
Liquid chlorine, also known as sodium hypochlorite, is a popular choice for pool sanitation due to its effectiveness in killing bacteria, viruses, and algae. Unlike powdered or granular chlorine, liquid chlorine is pre-dissolved, making it easier to apply and less likely to cause bleaching or staining on pool surfaces.
The Importance of Proper Dosage
Achieving the ideal chlorine level in your pool is a delicate balance. Too little chlorine, and your pool becomes a breeding ground for harmful pathogens. Too much, and swimmers may experience skin and eye irritation. It’s essential to regularly test your pool water using a reliable pool testing kit to determine the chlorine levels accurately.
Step-by-Step Guide to Adding Liquid Chlorine
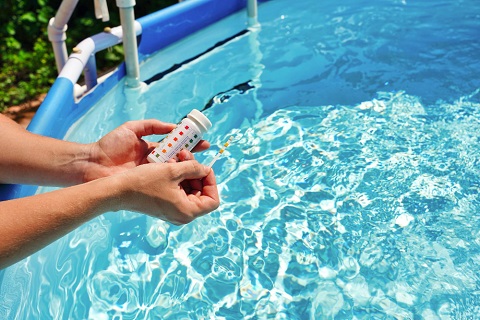
1. Test Your Water
Before adding any chemicals to your pool, test the water to determine the current chlorine level. This baseline measurement will guide you in determining the appropriate amount of liquid chlorine to add.
2. Calculate the Required Amount
Referencing your pool’s size and the current chlorine level, calculate the amount of liquid chlorine needed to reach the desired level. Most liquid chlorine products will provide dosage instructions based on the volume of your pool.
3. Safety Precautions
Before handling liquid chlorine, don appropriate safety gear, including gloves and goggles, to protect yourself from potential splashes or spills. Ensure proper ventilation in the area where you’ll be adding the chlorine to avoid inhaling fumes.
4. Add Liquid Chlorine
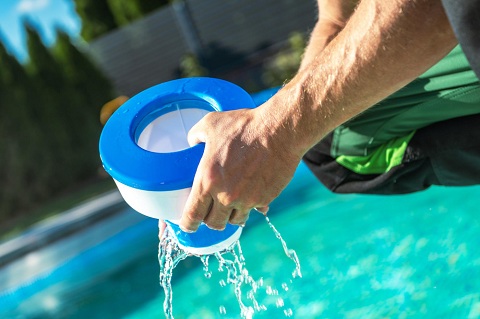
With safety precautions in place, carefully pour the calculated amount of liquid chlorine into your pool. It’s best to pour the chlorine slowly around the perimeter of the pool while the filtration system is running to aid in distribution.
5. Allow for Circulation
After adding the liquid chlorine, allow your pool’s filtration system to run for several hours to ensure thorough mixing and distribution of the chlorine throughout the water.
6. Re-Test and Adjust
After a few hours, re-test the water to confirm that the chlorine level has reached the desired range. If necessary, make adjustments by adding additional chlorine or a chlorine neutralizer to achieve the ideal balance.
Tips for Safe Handling and Storage
- Storage: Store liquid chlorine in a cool, dry place away from direct sunlight and incompatible chemicals.
- Handling: Always handle liquid chlorine with care, avoiding contact with skin, eyes, or clothing. In case of accidental exposure, rinse affected areas thoroughly with water.
- Disposal: Dispose of empty chlorine containers according to local regulations, taking care to prevent environmental contamination.
Conclusion
Maintaining a safe and enjoyable swimming pool requires diligence and attention to detail, especially when it comes to adding liquid chlorine. By following the steps outlined in this guide and prioritizing safety at every stage, you can ensure that your pool remains a refreshing oasis for all who swim in it.







Find Us on Socials