

Updating your bathroom can be a satisfying and cost-effective way to enhance its overall look and functionality. One simple yet impactful improvement is replacing an outdated or malfunctioning bathroom faucet. Whether you’re a seasoned DIY enthusiast or a novice, this step-by-step guide will walk you through the process, empowering you to tackle the task with confidence and achieve professional-looking results.
Materials and Tools:
Before diving into the replacement process, gather the necessary materials and tools:
Materials:
- New bathroom faucet
- Plumber’s tape
- Thread sealant
- Teflon tape
Tools:
- Adjustable wrench
- Plumber’s wrench
- Bucket
- Towels
- Plunger
Step 1: Turn Off the Water Supply
The first crucial step in replacing a bathroom faucet is to turn off the water supply. Begin by identifying the shut-off valves situated beneath the sink. Rotate these valves in a clockwise direction until they are completely closed, ensuring a secure seal to prevent water flow. If your sink lacks individual shut-off valves, it is advisable to shut off the main water supply to your entire home, guaranteeing a comprehensive and effective halt to water flow during the replacement process. This precautionary measure minimizes the risk of water leaks and ensures a smooth and controlled faucet replacement.
Step 2: Drain the Faucet
To avoid any water mess during the replacement, turn on the faucet to drain any remaining water in the lines. Place a bucket beneath the sink to catch any water that may still be trapped in the pipes.
Step 3: Disconnect the Water Supply Lines
Use an adjustable wrench to disconnect the hot and cold water supply lines from the old faucet. Have towels or a bucket handy to absorb any residual water. If the connections are stubborn, a plumber’s wrench can provide extra leverage.
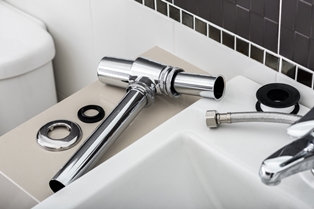
Step 4: Remove the Old Faucet
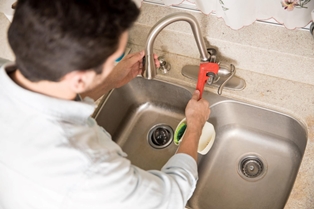
Loosen and remove the nuts securing the old faucet to the sink. Once the nuts are detached, lift the old faucet out carefully. Ensure the sink’s surface is clean and ready for the new installation.
Step 5: Prepare the New Faucet
Before installing the new faucet, wrap the threads of the faucet stems with plumber’s tape to create a tight seal. Apply thread sealant to the threads for added security.
Step 6: Install the New Faucet

Lower the new faucet into the mounting holes on the sink. From beneath, secure the faucet in place by tightening the nuts onto the faucet stems. Use a plumber’s wrench for a snug fit, being careful not to overtighten and damage the fixture.
Step 7: Connect the Water Supply Lines
Reconnect the hot and cold water supply lines to the corresponding faucet stems. Use an adjustable wrench to ensure a secure connection. Check for any leaks and tighten if necessary.
Step 8: Turn On the Water Supply
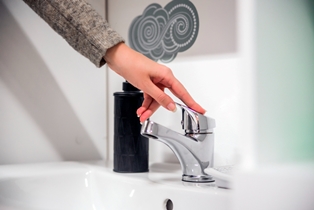
Once the faucet is securely in place, turn on the water supply to the bathroom. Check for leaks and address any issues promptly.
FAQs (Frequently Asked Questions)
Here are some FAQs related to How to Replace a Bathroom Faucet
The time required depends on factors such as the complexity of the installation and any unforeseen issues encountered. On average, it can take anywhere from 30 minutes to a few hours.
While basic plumbing knowledge is helpful, most homeowners can successfully replace a bathroom faucet with the right tools and instructions. Following the manufacturer’s guidelines is crucial for a successful installation.
It’s generally recommended to install new supply lines along with the new faucet to ensure proper function and prevent leaks. Old supply lines may be worn or damaged, compromising the integrity of the installation.
Applying penetrating oil and allowing it to soak for several minutes can help loosen stubborn nuts and bolts. Using the appropriate tools and applying steady pressure can also aid in removal.
While shutting off the main water supply is not always required, it is recommended to do so to prevent accidental water flow and potential flooding during the replacement process.
Conclusion:
By following these straightforward steps, you can replace a bathroom faucet with ease and confidence. This DIY project not only improves the aesthetic appeal of your bathroom but also ensures the proper functioning of your fixtures. With the right tools and a bit of patience, you can achieve a professional-looking result that enhances the overall comfort and style of your bathroom space.